The Importance of Isolation Valves in Plumbing

Close-up of an insulation valve, highlighting its role in energy efficiency and protecting HVAC or plumbing systems from heat loss.

Have you ever been by yourself on a relaxed Sunday afternoon, when out of the blue your peace is disrupted by the ominous sound of gushing water? Imagine the horror as you rush into your bathroom to find an angry geyser spouting from under your sink! That’s when it hits – the importance of isolation valves in plumbing systems. It’s like having a superhero living inside your pipes. A guardian angel ready to swoop in and save you from disastrous floods and sky-high repair bills.

We often take these little lifesavers for granted. Hidden behind walls or tucked away under sinks, they quietly perform their duties without fanfare. But once things go awry… well, let’s just say that we quickly realize how crucial they are!

We’re lifting the veil to reveal these hidden champions, illuminating just how crucial isolation valves truly are in our everyday lives.

YouTube video

Table Of Contents:

Understanding the Role of Isolation Valves in Plumbing Systems

If you’ve ever needed to mend a dripping tap or change a broken pipe, then it’s likely that you have come across an isolation valve. These valves play a vital role in controlling water flow within your home’s plumbing system.

The Everyday Use of Isolation Valves

The Everyday Use of Isolation Valves

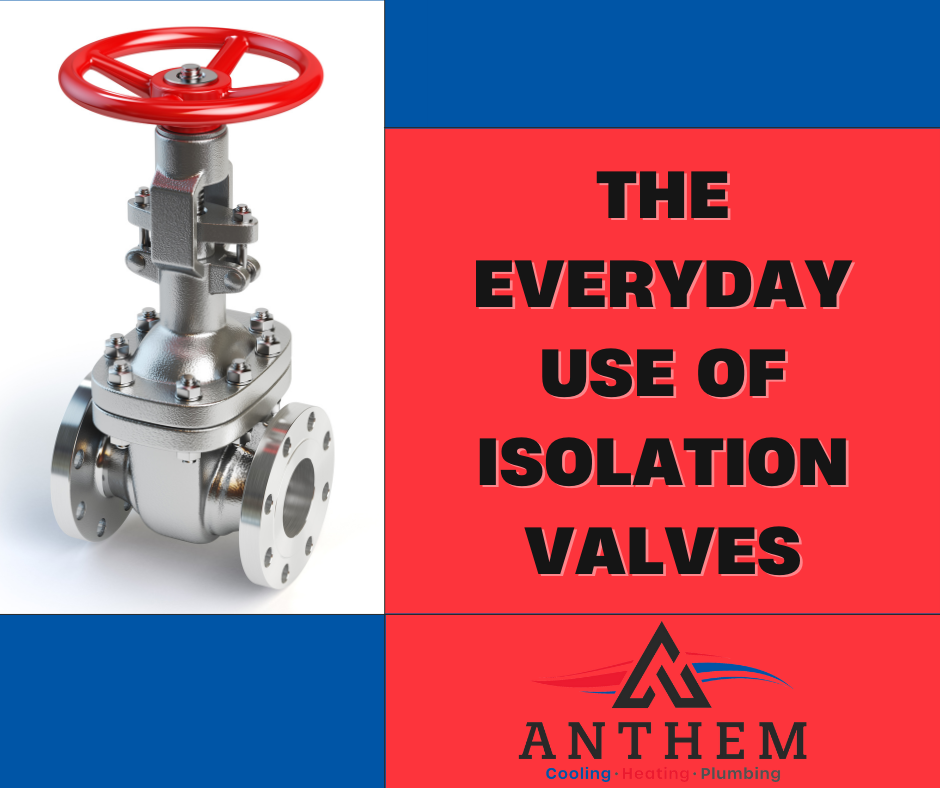
Typically left open, these essential components allow users to control water distribution effectively. They regulate the rate at which water flows through taps and other fixtures.

This functionality is due not only to their design but also their strategic placement within the piping network. For safety reasons and optimal performance, it’s crucial that they are correctly installed.

The Importance of Isolation Valves During Plumbing Maintenance

During servicing or replacement processes for fixtures like faucets or pipes, isolation valves can prevent leaks by stopping water flow entirely. When an unexpected pipe break occurs – something no homeowner wants to face – quick access to these valves can be lifesaving (literally).
A properly functioning valve will halt fluid movement swiftly when fully closed, making them incredibly valuable during emergency situations where immediate shut-off is required.

This is why regular maintenance checks of your isolation valves are a must. Remember, prevention is better than cure.

Recommended Placement and Installation of Isolation Valves

Proper placement of isolation valves can save you from a potential water disaster. These essential components, when installed correctly, give you the power to control your home’s water flow in case of a pipe break or during routine maintenance.

Locating Isolation Valves During Emergencies

Your home may already have isolation valves installed. But knowing where they are is half the battle. Common spots include under sinks and behind toilets. However, these aren’t always easy to spot. In an emergency situation like a sudden leak or burst pipe, being able to quickly locate these valves can be crucial for preventing more damage.

In general, it’s smart practice to familiarize yourself with your plumbing system layout before emergencies strike – including understanding where each valve is located. Here is an excellent resource on how to find them in common household setups.

The Need for Professional Installation

If no isolation valves are present (or if they’re just too darn hard to reach), then professional installation could be necessary – especially given their vital role during unexpected leaks or scheduled repairs. The cost varies based on factors such as complexity and location, but considering that early prevention saves time, money and stress down the line – it’s worth every penny.

A professionally-installed valve guarantees proper fit which not only makes sure that it does its job effectively but also helps prevent future issues due to its improper installation. Here is a guide to give you an idea of what the process involves.

Familiarizing Yourself with Your Water Main and Isolation Valves

Your water main is the highway of your home’s plumbing system, distributing water throughout your property. It’s a vital part of the infrastructure that works hand in glove with isolation valves to control and manage this distribution.

The Role of the Water Main in Water Distribution

Think about your water main as an interstate freeway for potable water. Operating under pressure, it delivers clean drinking water from municipal sources or wells directly into our homes.

Isolation valves play a crucial role here too. They are like exits off this highway allowing access to different areas of your house – be it kitchen sink, bathroom shower, or garden hose bibs. These manually operated devices let you cut off supply where needed without disrupting service elsewhere.

The Importance of Regular Check-ups for Your Isolation Valves

Maintaining these critical components isn’t hard but requires regular attention. Just like we check tire pressures before hitting the road on long trips, make sure all isolation valves operate smoothly and seal properly when closed.

This can help prevent potential leaks leading to costly repairs down the line (key stat: 13% increase in repair costs associated with delayed maintenance).

A reliable plumber will also assess their condition during routine inspections – remember prevention is always better than cure.

Schedule regular check-ups today, ensuring peace of mind knowing that if there’s ever a pipe break or other emergency situation you’ll have control over shutting down parts while still having running water available elsewhere.

Different Types of Isolation Valves and Their Applications

Different Types of Isolation Valves and Their Applications

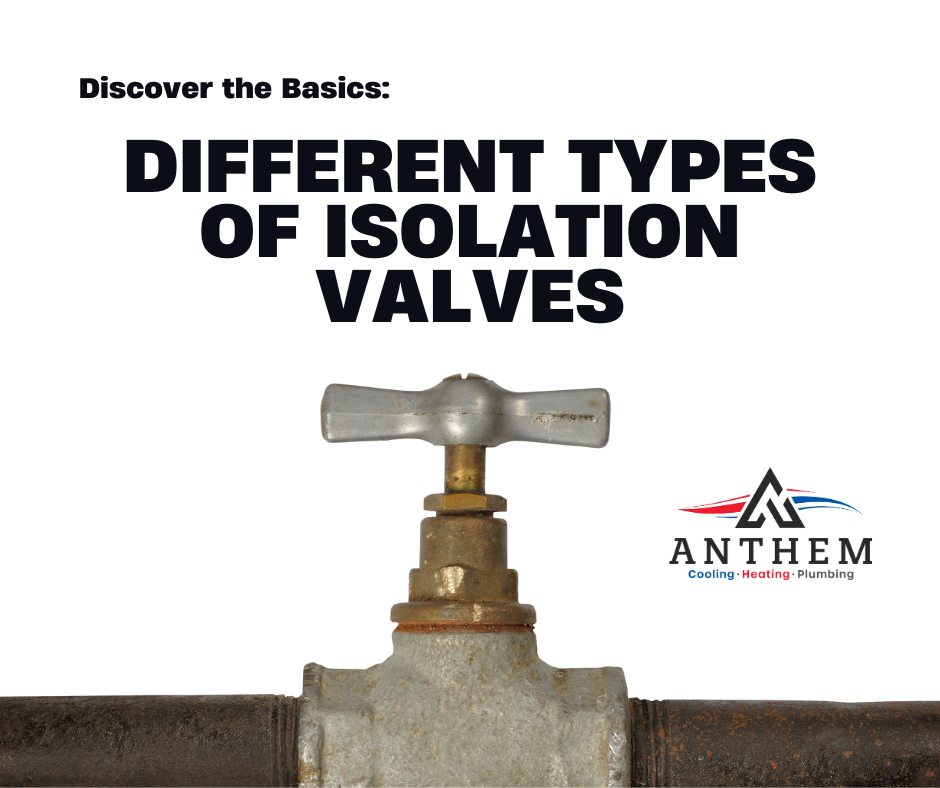
Isolation valves are crucial players in the world of plumbing. They regulate flow, whether it’s water or gas, through a system.

Ball Valves: The All-Rounder

Ball valves, recognized by their spherical disc and quarter-turn handle, offer excellent shut-off capabilities. Because they provide minimal pressure drop when fully open, they’re great for applications where fast flow rates are essential.

Gate Valves: Precision Control Artists

If you need precise control over fluid flow, gate valves might be your best bet. Using linear movement to lift or lower the valve stem changes the flow path within these stainless steel powerhouses.

Globe Valves: Masters of Flow Regulation

Globe valves, so named due to their globe-shaped bodies, contain regulating elements that can restrict or allow fluid passage depending on specific application needs. With more turns than a soap opera plotline from open to closed position – Globe is king.

The Butterfly Effect with Butterfly Valve

Last but not least comes our friend the butterfly valve – designed like a simple disk that rotates 90 degrees around its axis in order to start/stop fluid passing through it just like opening/closing the wings of butterflies. Used primarily as an isolation tool rather than regulation ones because guess what? These guys do an awesome job at saving water during operation due to low-pressure drop characteristics.

Conclusion

Don’t let a sudden plumbing mishap catch you off guard. Understanding the importance of isolation valves in plumbing systems can save your day, and possibly your wallet too.

You’ve learned about their role in controlling water flow and how they help during maintenance or emergencies. Remember that knowing where these valves are located is vital for quick action when needed.

Remember to have them professionally installed if not present already. Keep tabs on their functionality with regular check-ups, as a faulty valve could lead to unwanted surprises.

Awareness about different types of isolation valves like ball valves, gate valves, butterfly valves, and globe valves can also come in handy based on specific applications in your home’s system.

In conclusion: Stay vigilant. Be prepared. Know thy valve!

Essential Steps: Know How to Find the Water Shutoff

Step-by-step guide showing how to turn off the main water valve to your house, ensuring emergency preparedness and preventing water damage.

Ever had that heart-sinking moment when you spot a water leak in your home? A burst pipe, perhaps, or a puddle under the sink? Yeah, me too.

It’s like watching money literally go down the drain. But don’t panic! That small twist of metal called the main water shutoff valve is about to become your best friend.

It’s this simple device that stands between you and an indoor flood. I’m going to let you in on a secret: knowing how to operate it isn’t rocket science – it’s actually quite straightforward once you get the hang of it. Intrigued?

Keep reading because we’re diving deep into how to turn off the water to your house with confidence – be it for maintenance work or those unforeseen emergencies!

YouTube video

Table Of Contents:

Understanding Your Home’s Water Shutoff System

Your home’s water shutoff system is crucial for managing your water supply. Knowing how to use it can save you from potential disasters like leaks and floods.

Gate Valves vs. Ball Valves

The two common types of valves in homes are gate valves and ball valves. Gate valves have a round handle that needs several turns to shut off the water, while ball valves come with a lever that requires only a quarter turn.

Typical Locations for Main Water Shutoff Valve

Finding the main water shutoff valve isn’t always straightforward as its location varies depending on house design. It could be located in your basement, garage, or near an outdoor faucet. Make sure you know where yours is before any plumbing issue arise.

Please note: While this information should give you basic knowledge about shutting off your home’s water supply, every situation is unique. Always seek professional help if needed.

Operating Your Water Shutoff Valve

Operating Your Water Shutoff Valve

If you’ve got a plumbing problem, the first step is to stop water flow. You need to know how your main shutoff valve works.

Turning Off a Gate Valve

A gate valve might look old-fashioned but it gets the job done. Here’s how:

  • To start, find the round wheel handle on top of the valve.
  • Gently turn this clockwise until it stops – don’t force it.

Turning Off a Ball Valve

A ball valve has an easy-to-use lever handle and here’s what you do:

  • You’ll notice that when water is flowing, the lever aligns with the pipes.
  • To stop water, rotate this 90 degrees so it’s perpendicular to the pipes.

Taking control of your home’s plumbing starts with understanding these valves.

Relieving Pressure in Your Pipes

Once the water is off, it’s essential to reduce pressure in your pipes before they burst. Why? Picture this: you’re blowing up a balloon but stop before it pops. The air inside is under tension, right? Same with your pipes.

To avoid potential damage and make repairs easier, open all faucets starting upstairs and working your way down. This lets trapped water flow out instead of staying pressurized within.

It’s like releasing steam from a boiling pot – failure to do so might just result in an uncomfortable surprise. So remember folks; when dealing with plumbing issues at home, always be sure to let off some ‘steam’ first.

Restarting Your Water Supply After Repairs

Restarting Your Water Supply After Repairs

Once repairs are done, it is time to start the water flow again cautiously. But don’t rush; turning on your water supply too quickly can cause a surge that damages pipes or fixtures.

The first step is opening the main shutoff valve slowly. Start by twisting it counterclockwise just a bit and then wait for about five minutes. This slow start allows pressure to build up gradually in your system, avoiding any sudden shocks.

After this initial period, you can fully open the valve. Remember not to force it if there’s resistance – forcing could damage the valve itself. If things seem stuck, try using some penetrating oil.

Last but definitely not least: check around your house for leaks. Keep an eye out for wet spots or listen carefully for unusual sounds like dripping or rushing water behind walls.

Regular Maintenance and Inspection of Your Water Shutoff System

Maintaining your home’s water shutoff system is like getting a regular check-up for your car. You wouldn’t want to be in the middle of a plumbing emergency and find out something isn’t working properly, would you? The same goes for your water supply.

Checking Your Main Water Shutoff Valve

It’s smart to give your main valve some attention every now and then. Think about checking it twice a year—maybe when you change the clocks or swap out batteries in smoke detectors—to make sure it operates smoothly. But don’t just look at it; turn off the valve and back on again to test its function.

Replacing Your Water Shutoff Valve

Sometimes, valves wear out with age or due to rust buildup, so replacement might be necessary. If turning off the valve feels stiff or if there are signs of leaks around it, call a plumbing professional. Remember: prompt action can prevent more significant issues down the line.

Conclusion

Turning off water to your house is a skill every homeowner should master. With knowledge of gate and ball valves, you’re now equipped to handle those leaks.

Remember, the shutoff valve can be in different locations – basements or crawlspaces being common spots. Keep that spot clean and accessible!

You’ve learned how important it is to relieve pressure after shutting off the water. Don’t forget this step as it protects your pipes from damage.

Restarting the water supply might seem daunting but with our guide, it’s straightforward! Take things slow and avoid turning on too many faucets at once.

For more details, contact Anthem today! Call (951) 389-5151 Inland Empire or (760) 895-2621 for the Coachella Valley. We’re always here to help!

Solving Your Leaking Tub Faucet: A Handy DIY Guide

faucet in tub leaking

Ever had that annoying drip-drip sound from your tub faucet keep you up at night? That small, relentless leak may seem harmless but let me tell you – it’s more than just an irritating noise.

That little drip could turn into a waterfall before you know it. It can cause significant water wastage and if left unchecked, might even damage your beautiful bathroom decor.

You’re probably wondering: “Can I fix this myself?” The answer is yes! With the right tools in hand and some basic knowledge of different faucets, anyone can become a DIY plumber.

In this guide, we’ll walk through identifying your faucet type to understanding when it’s time to call for professional help. We’ll also dive deep into prevention measures because after all, who wants to deal with leaks again?

So, are you all set to tackle that annoying leak? Let’s get it done!

Table Of Contents:

Understanding the Problem of a Leaking Tub Faucet

A leaking tub faucet might seem like a small issue, but it’s more than just an annoying drip. It can waste gallons of water over time and drive up your utility bill.

The problem often lies in worn-out parts within the faucet. For example, a deteriorated rubber washer or seal can fail to block water flow when the tap is turned off. This Family Handyman guide explains this common cause in detail.

Faucets also come with different mechanisms: compression, cartridge, or ball-type faucets each having their unique setup and potential issues that could lead to leaks. Gaining an understanding of the faucet type is essential prior to attempting any repairs.

Beyond damage control, letting a leak persist may cause bigger problems down the line – think rusting pipes or even structural damage from prolonged exposure to moisture.

Identifying the Type of Faucet

Ball faucets are single-handle models identifiable by their round cap right above the base of the faucet spout. A sure sign is if your handle rotates 360 degrees.

Cartridge faucets, on the other hand, may have one or two handles but do not rotate all around. They move up and down to control water flow.

The third type, compression faucets, are generally found in older homes. These old-school models use separate handles for hot and cold water.

Basic Tools Required for Fixing a Leaky Faucet

Basic Tools Required for Fixing a Leaky Faucet

Having the right tools can make all the difference between a successful DIY plumbing job and a costly professional repair. Just like how an artist needs their brushes and paints, you’ll need your trusty set of tools.

An adjustable wrench is essential. It’s as vital as bread in making sandwiches. This tool will help you loosen or tighten parts that are hard to reach or stubbornly stuck.

A tubing cutter, on the other hand, is useful if you’re dealing with copper pipes. Think of it as scissors for metal tubes.

Last but not least, keep some thread seal tape. It’s similar to using duct tape when packing boxes; this seals connections ensuring no leaks escape.

  • All these basic tools aren’t just good-to-have items—they’re must-haves. Remember: being prepared means half-won battles against leaky faucets.

Step-by-Step Guide to Fixing a Leaky Tub Faucet

Step 1: Gather Supplies

Collect all the necessary tools and replacement parts before starting the repair.

Step 2: Turn Off Water Supply

Locate the water shut-off valves for your bathtub and turn them off. If there are no dedicated shut-off valves, turn off the main water supply for your home.

Step 3: Remove the Faucet Handle

  • Use a screwdriver to remove the handle’s decorative cap or cover. Some covers might pop off easily, while others might require a bit of prying.
  • Once the cover is removed, unscrew and remove the handle. Set these parts aside carefully.

Step 4: Examine the Cartridge or Valve

  • Inspect the faucet’s interior for the cartridge or valve. This component controls water flow and may need replacement or repair.
  • Some faucets have cartridges that can be removed by hand or with pliers. Others may require a specific tool.

Step 5: Replace Damaged Parts

  • If the cartridge is worn out or damaged, carefully remove it and replace it with a new one. Follow manufacturer instructions or consult a plumbing expert if unsure.
  • Check O-rings, washers, or seals for damage. If necessary, replace these parts with new ones.

Step 6: Apply Plumber’s Tape

  • Wrap the new plumber’s tape around any threaded areas of the faucet assembly to ensure a tight seal.
  • Be sure not to overdo it with the tape; a few layers wrapped in the direction of the threads should suffice.

Step 7: Reassemble the Faucet

  • Put the repaired or replaced parts back into place in the reverse order of how you disassembled them.
  • Tighten everything securely but avoid over-tightening, as this might cause damage.

Step 8: Turn On Water Supply

  • Turn the water supply back on slowly and check for leaks.
  • Initially, keep the handle in the off position to test for leaks before fully reopening the faucet.

Step 9: Test the Faucet

  • Turn the faucet on slowly and check for any leaks or drips.
  • If there are still leaks, try tightening connections or rechecking the replaced parts for proper installation.

Step 10: Reassemble the Handle

  • Once you’ve confirmed there are no leaks, reattach the handle and decorative cap or cover.

Step 11: Clean Up

  • Clean any excess plumber’s tape or residue from the faucet and surrounding areas.
  • Dispose of any old parts and packaging.

When to Call a Professional Plumber

When to Call a Professional Plumber

Dealing with a leaking tub faucet can be tricky. While minor leaks might get fixed by DIY methods, not all situations are the same.

If you notice constant dripping even after trying to fix it yourself or if the leak is causing significant water damage, that’s your cue. You need professional help at this point because their expertise will prevent more harm from happening.

A professional plumber has years of experience and training under his belt which lets him diagnose complex issues quickly. So don’t hesitate; when in doubt, reach out.

Predicting Future Problems

Besides fixing existing problems, plumbers can also predict future ones due to their experience. They’re like doctors for your plumbing system – they’ll spot potential trouble before it starts showing symptoms. This way you save money on costly repairs down the line.

In short: Trying to handle everything alone may seem tempting but remember – just as Rome wasn’t built in a day, nor was its plumbing.

Preventive Measures to Avoid Faucet Leaks

Maintaining your tub faucet can help prevent leaks before they start. Perform regular inspections to identify any potential damage, such as cracks, rust, or mineral deposits.

Get into the habit of gently turning off faucets instead of forcefully twisting them shut. This can extend the life of your faucet’s components and prevent leaks from developing.

You should also consider installing water leak detectors under sinks. They alert you if there’s moisture where it shouldn’t be so you can fix small issues before they become big problems.

https://youtube.com/watch?v=3ACYnayVRT0%3Fsi%3DIYLRUfcaQrSQPBXK

Conclusion

Well, you’ve made it! No more nights disturbed by the tub faucet leaking.

You now know the importance of identifying your faucet type and gathering the right tools before diving into repairs.

Tackling leaks step-by-step? You’re covered. Knowing when to call a pro? You got that too.

And let’s not forget prevention – because who wants to go through this again?

In short, we hope this guide has equipped you with all you need to keep your bathroom leak-free!

If you have any questions or need an estimate on your plumbing, give Anthem a call today. (951) 389-5151  for Inland Empire and (760) 895-2621 for the Coachella Valley.

Demystifying HVAC: What Does It Stand For in Your Home?

what does hvac stand for

Unravel the mystery of HVAC! Discover what it stands for, its vital role in your home, and tips to boost air quality and energy efficiency.

Continue reading